Wednesday, November 25, 2015

Yeah... Something about like that


It can be tricky taking decent photos of my boat, because the lighting in my shop isn't the greatest. Still, I wanted to share a few photos of the painting progress, now that the color scheme is beginning to look more cohesive. 

On a portion of the sheer, I've painted 2 coats of the Aquagard 190 primer, and 3 coats of the Sea Foam Green. I pulled the tape off of the aft port section of the boat, where the 3 main colors come together: Whidbey White, Sea Foam Green, and natural Mahogany. 

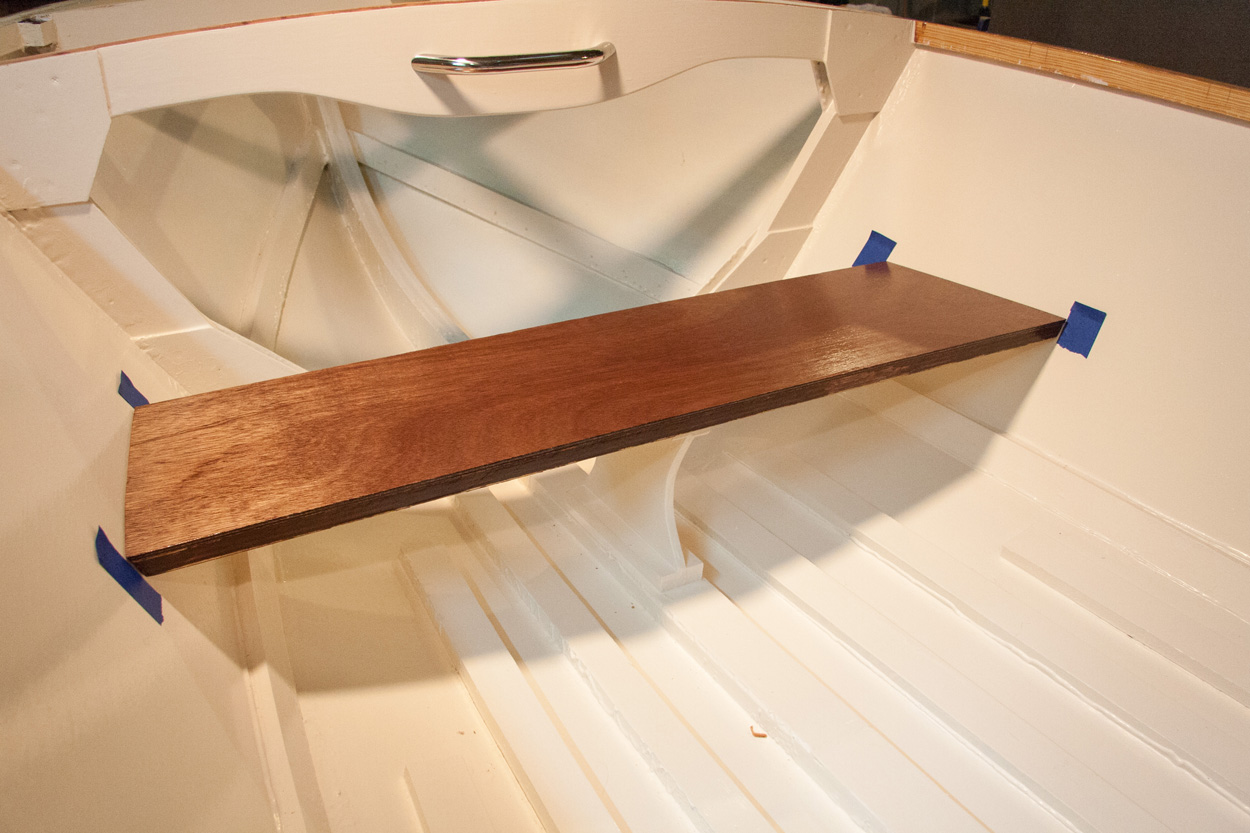
Not a perfect paint job, but here's a glimpse of the look I've been pursuing:

Mahogany quarter knee, System Three Whidbey White hull, Aqua Gloss Sea Foam Green sheer, Meranti transom.

Mahogany quarter knee, System Three Whidbey White hull, Aqua Gloss Sea Foam Green sheer & bottom, Meranti transom.
— Happy Thanksgiving to you.

Saturday, November 14, 2015

1 seat attached. 1 seat coated. Primer finally on sheer.

Well, the title kinda says it all. So, let's get right to the pictures:


Here is the trimmed rear thwart, waiting for its first "finish" coat of epoxy on top. The plan was to mix some epoxy, coat the thwart using a thin foam roller, squeegee it, then thicken the rest of the epoxy with silica for attaching the forward thwart permanently.

I taped off areas on and around the forward thwart, to both mark where to place thickened epoxy and to make clean-up go more smoothly.

As you can see, there is a considerable gap between the thwart and the side of the hull on the starboard side. The gap is several inches long & gets progressively wider aft. The joint at the forward edge is considerably better. I knew it would take big globs of VERY thick epoxy to fill this gap.

The gap on the port side wasn't so bad.

First epoxy coat rolled & sqeegeed onto the aft thwart.

Here's that big gap filled with thickened epoxy. Before removing the tape, I used the curved corner of the squeegee to shape the epoxy edges.

Improvised bracing to help make sure the thwart was pressed down solidly and level.

Improvised bracing to help make sure the thwart was pressed down solidly and level.

I wanted to get a photo of this filled gap before I painted over it. This is from where I had to remove some material from the corner of the outer sheer lamination in order to get it to bend into place. I removed a little too much, leaving this gap. During installation of the sheer, I heaped on the thickened epoxy in order to fill it. This is the port side joint between the sheer and transom.

First layer of the AquaGard 190 primer on the port sheer.

First layer of the AquaGard 190 primer on the port sheer.

First layer of the AquaGard 190 primer on the port sheer.

Tuesday, November 10, 2015

So, that didn't go quite as planned

Tilting the rear thwart upward so that epoxy would run into the gap between the 2 pieces of plywood seemed like a good idea. The only problem was, after the epoxy cured, the gap remained.

The effort wasn't without merit, however. Several different parts did get encapsulated with another coating of epoxy. Still, the gap needed to be filled.

This time, I placed the rear thwart vertically in my bench vise. I drizzled epoxy into the gap until there was no question that it had been filled.

Now the gap has been filled.
I also put another coat of epoxy on the top of the forward thwart, and squeegied it meticulously. And, I brushed a second coat of epoxy onto the underside of the sheers at the back of the boat.

2nd layer of epoxy on the top of the front seat.

Sheers taped off for epoxy & painting.

Sheers taped off for epoxy & painting.

Forward thwart placed back into position.

Marking the position for the forward thwart prior to installing it permanently.
Now, the forward thwart is ready for installation. The rear thwart is ready to be trimmed, and the sheers are ready for primer.

Sunday, November 8, 2015

Epoxy work on seats, sheer, and Zip parts

The last post left off with my having cut out a piece of Meranti for the rear seat. This weekend, I laminated that onto the A/C exterior plywood... and did a little more epoxy work along the way.
1/4" Meranti top for the rear seat
Just as I'd done with the front thwart, I coated both mating sides with epoxy (not thickened), and held them together with concrete blocks and weights while the epoxy cured. I had just enough epoxy left over to also add a 2nd layer to the Zip transom knee.


Laminating the Meranti onto the rear thwart. I used the extraneous epoxy to encapsulate the underside of the front thwart, as well as the transom knee for the Zip.
Regrettably, however... after the epoxy cured, there remained a small gap.

And a dust bunny got stuck in the epoxy on the Zip part.
All this didn't go perfectly according to plan. After the epoxy had cured, I found a gap between the two layers that would need to be filled. Also, some dust had gotten stuck in the epoxy on the Zip transom knee. I am trying for substantially better fit and finish on the Zip, so I sanded off the dust bunny & planned to encapsulate with a third layer.

Logistically, I thought it best to encapsulate the undersides of both seats next. This would be the 2nd coat for the forward thwart. I planned to tilt the rear thwart just a little so that epoxy would run into the gap and fill it. Since I haven't trimmed the Meranti top yet, this should help the epoxy flow down into the gap. With the extraneous epoxy, I planned to encapsulate the underside of the sheers on the aft third of the boat, as well as the Zip part.

I ended up having more left over epoxy than expected. So after quickly cleaning them off, I also encapsulated part of the Zip stem and the forward face of frame 5-1/2.


More encapsulation; trying to fill the gap on the aft thwart. Here it is propped up slightly with a scrap of mahogany left over from the quarter knees.

Epoxy drying on the Zip stem & frame 5-1/2.


Current Status of Zip Parts
PartStatus
Stem & Breasthook AssemblyMost surfaces have 1 coat of epoxy
Frame 5-1/2Forward face has 2 layers of epoxy. Other surfaces have 1 layer.
Frame 4Side members cut, but have not been planed or notched for sheer.
Transom KneeCoated with 3 layers of epoxy
TransomSide frame members cut 1/4" oversized on outer side. Have not been planed.

Sunday, November 1, 2015

Finishing up the Whidbey White

Finally, I've finished painting the interior area that will be Whidbey White. 

The quarter knees are taped off so that I can paint the sheers.


After the paint dried, I re-installed the stainless steel eye-bolt in the transom knee.
My daughter helped me pick out a section of Meranti plywood to add to the top of the aft seat. I cut it out of a partial sheet, and it is waiting to be laminated onto the A/C plywood thwart.

Grain pattern for the aft thwart.
Work remaining to be done includes:
  • Finishing construction and installation of the seats
  • Painting the sheers Sea Foam Green (some spots still need epoxy first)
  • Planking the deck
The following two photos are for future reference when I install the deck cleat and bow chocks:


Measured distance from aft face of fwd frame to mid-line on deck beam - 18"

Measured distance from aft face of fwd frame to aft edge of breasthook (port side shown) - 36.5"